
Springville, AL AC Installation: Ductless Mini Split Guide
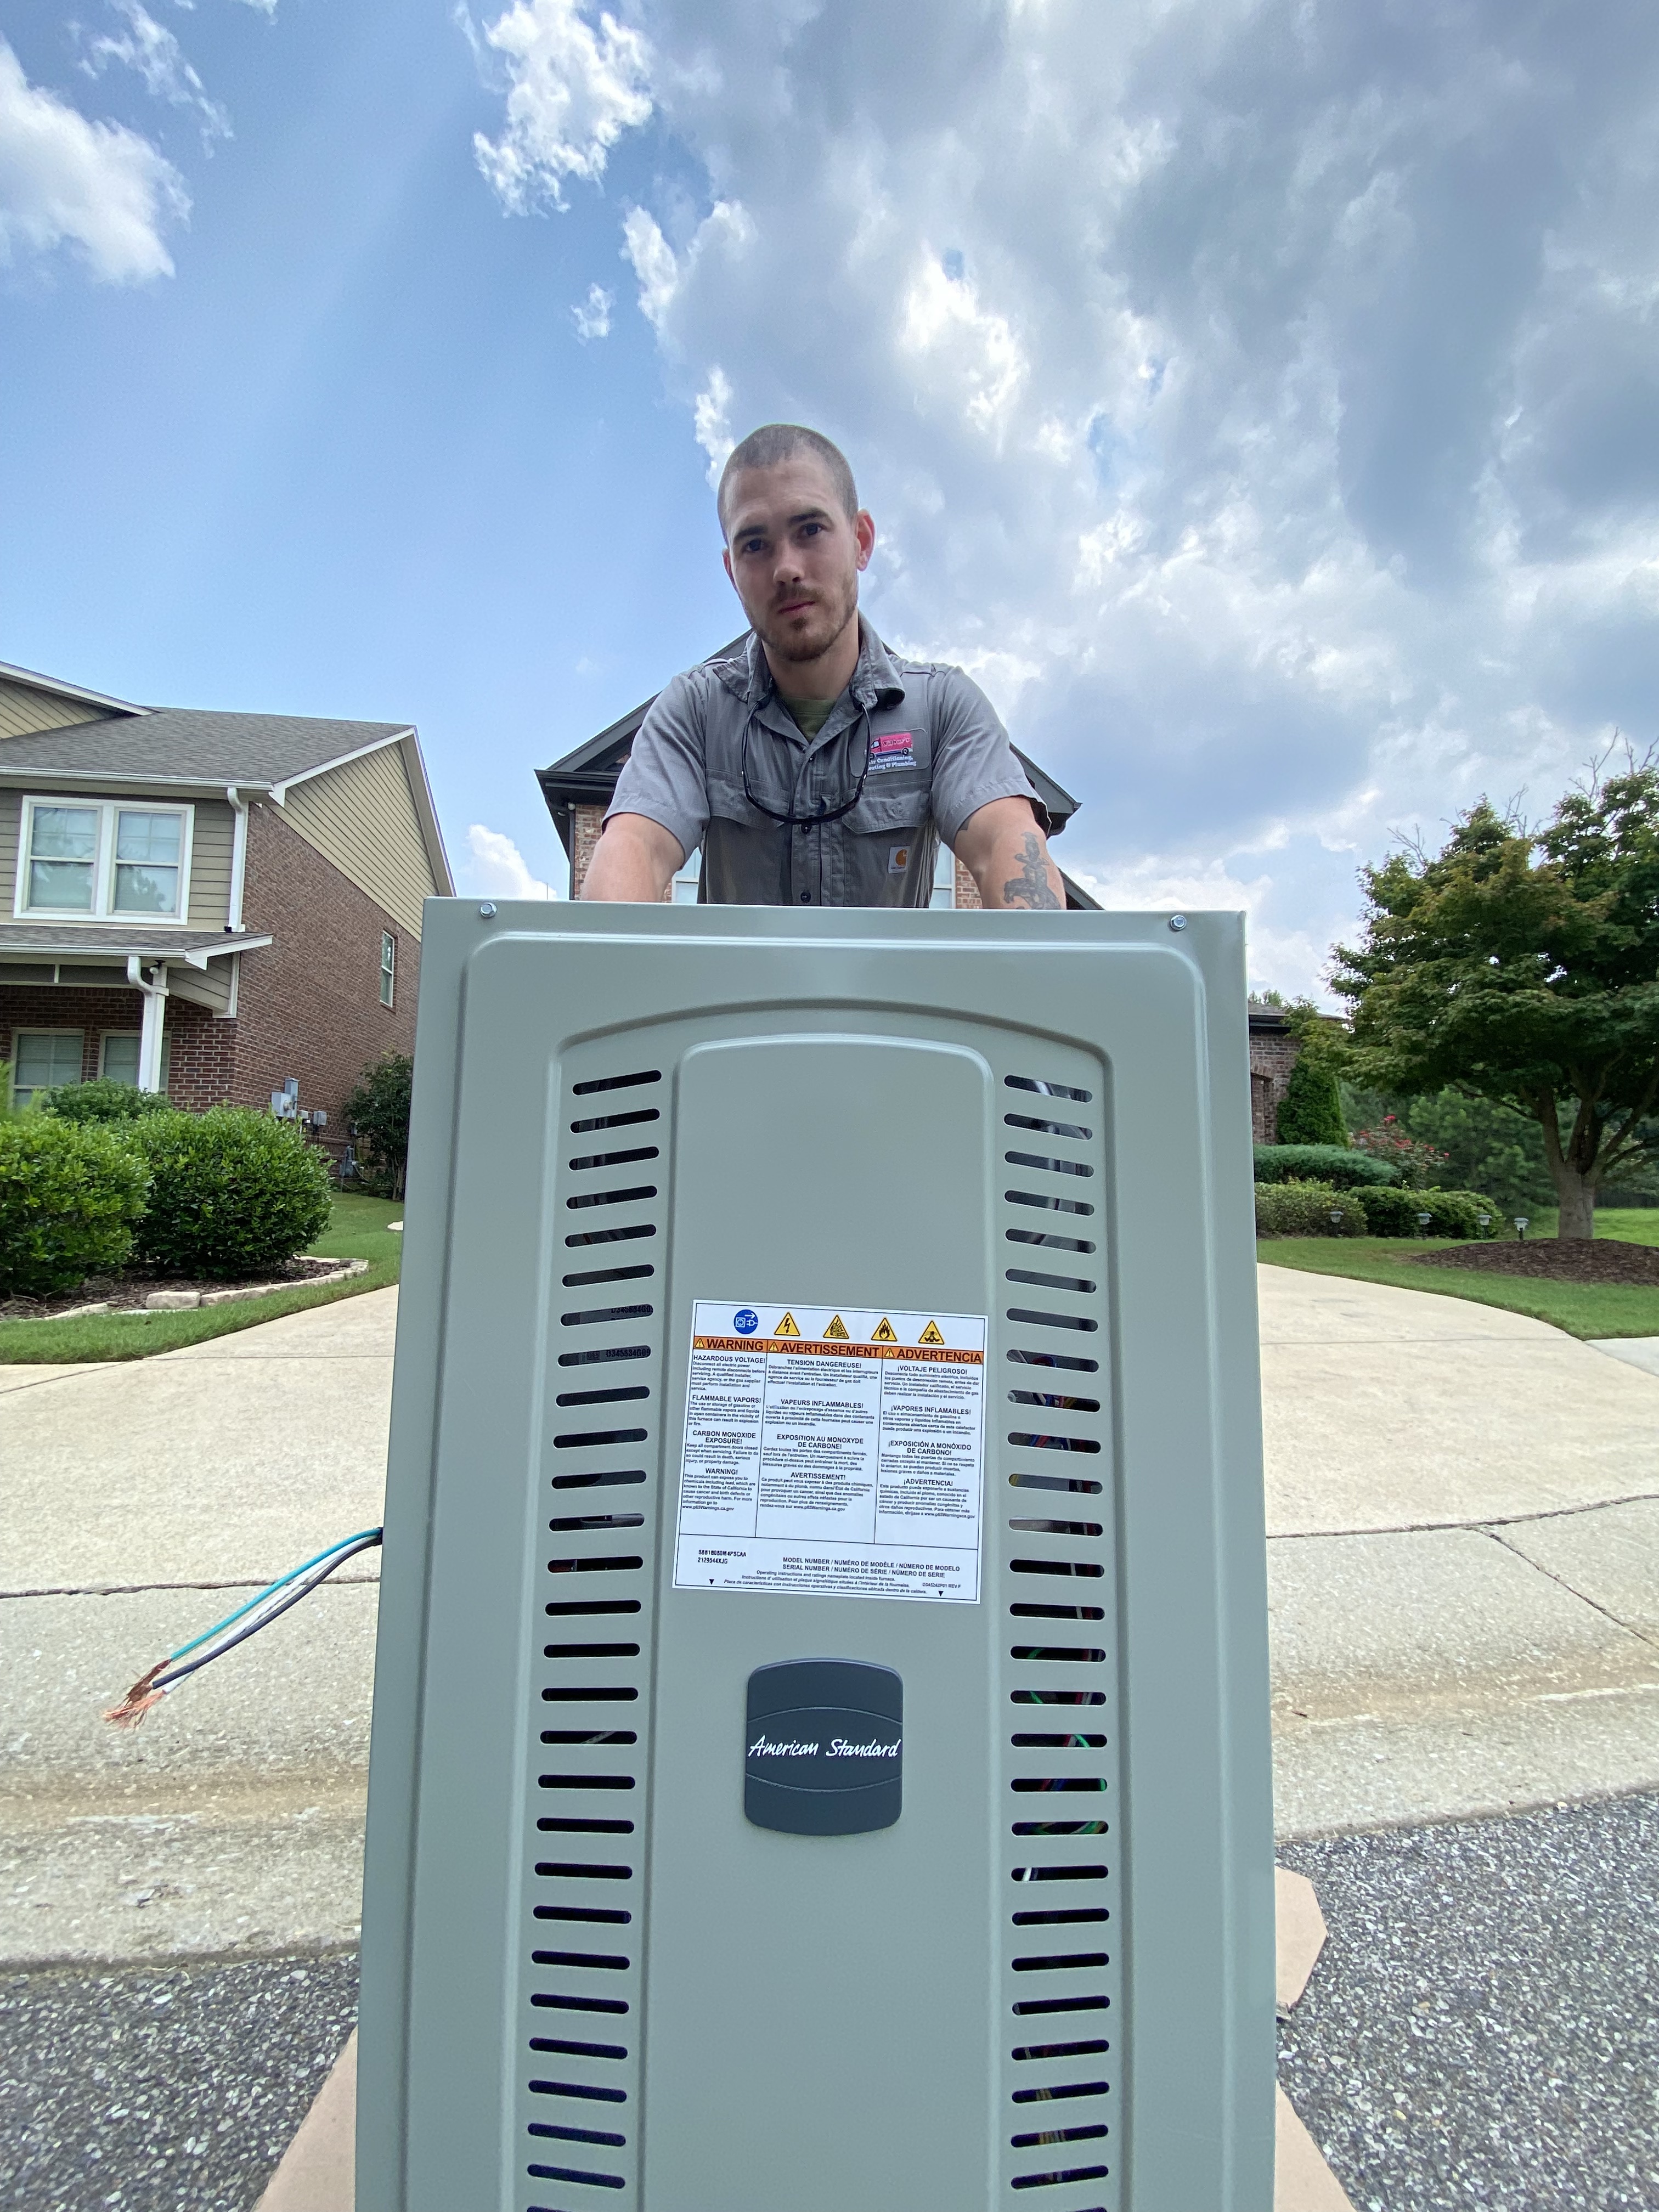
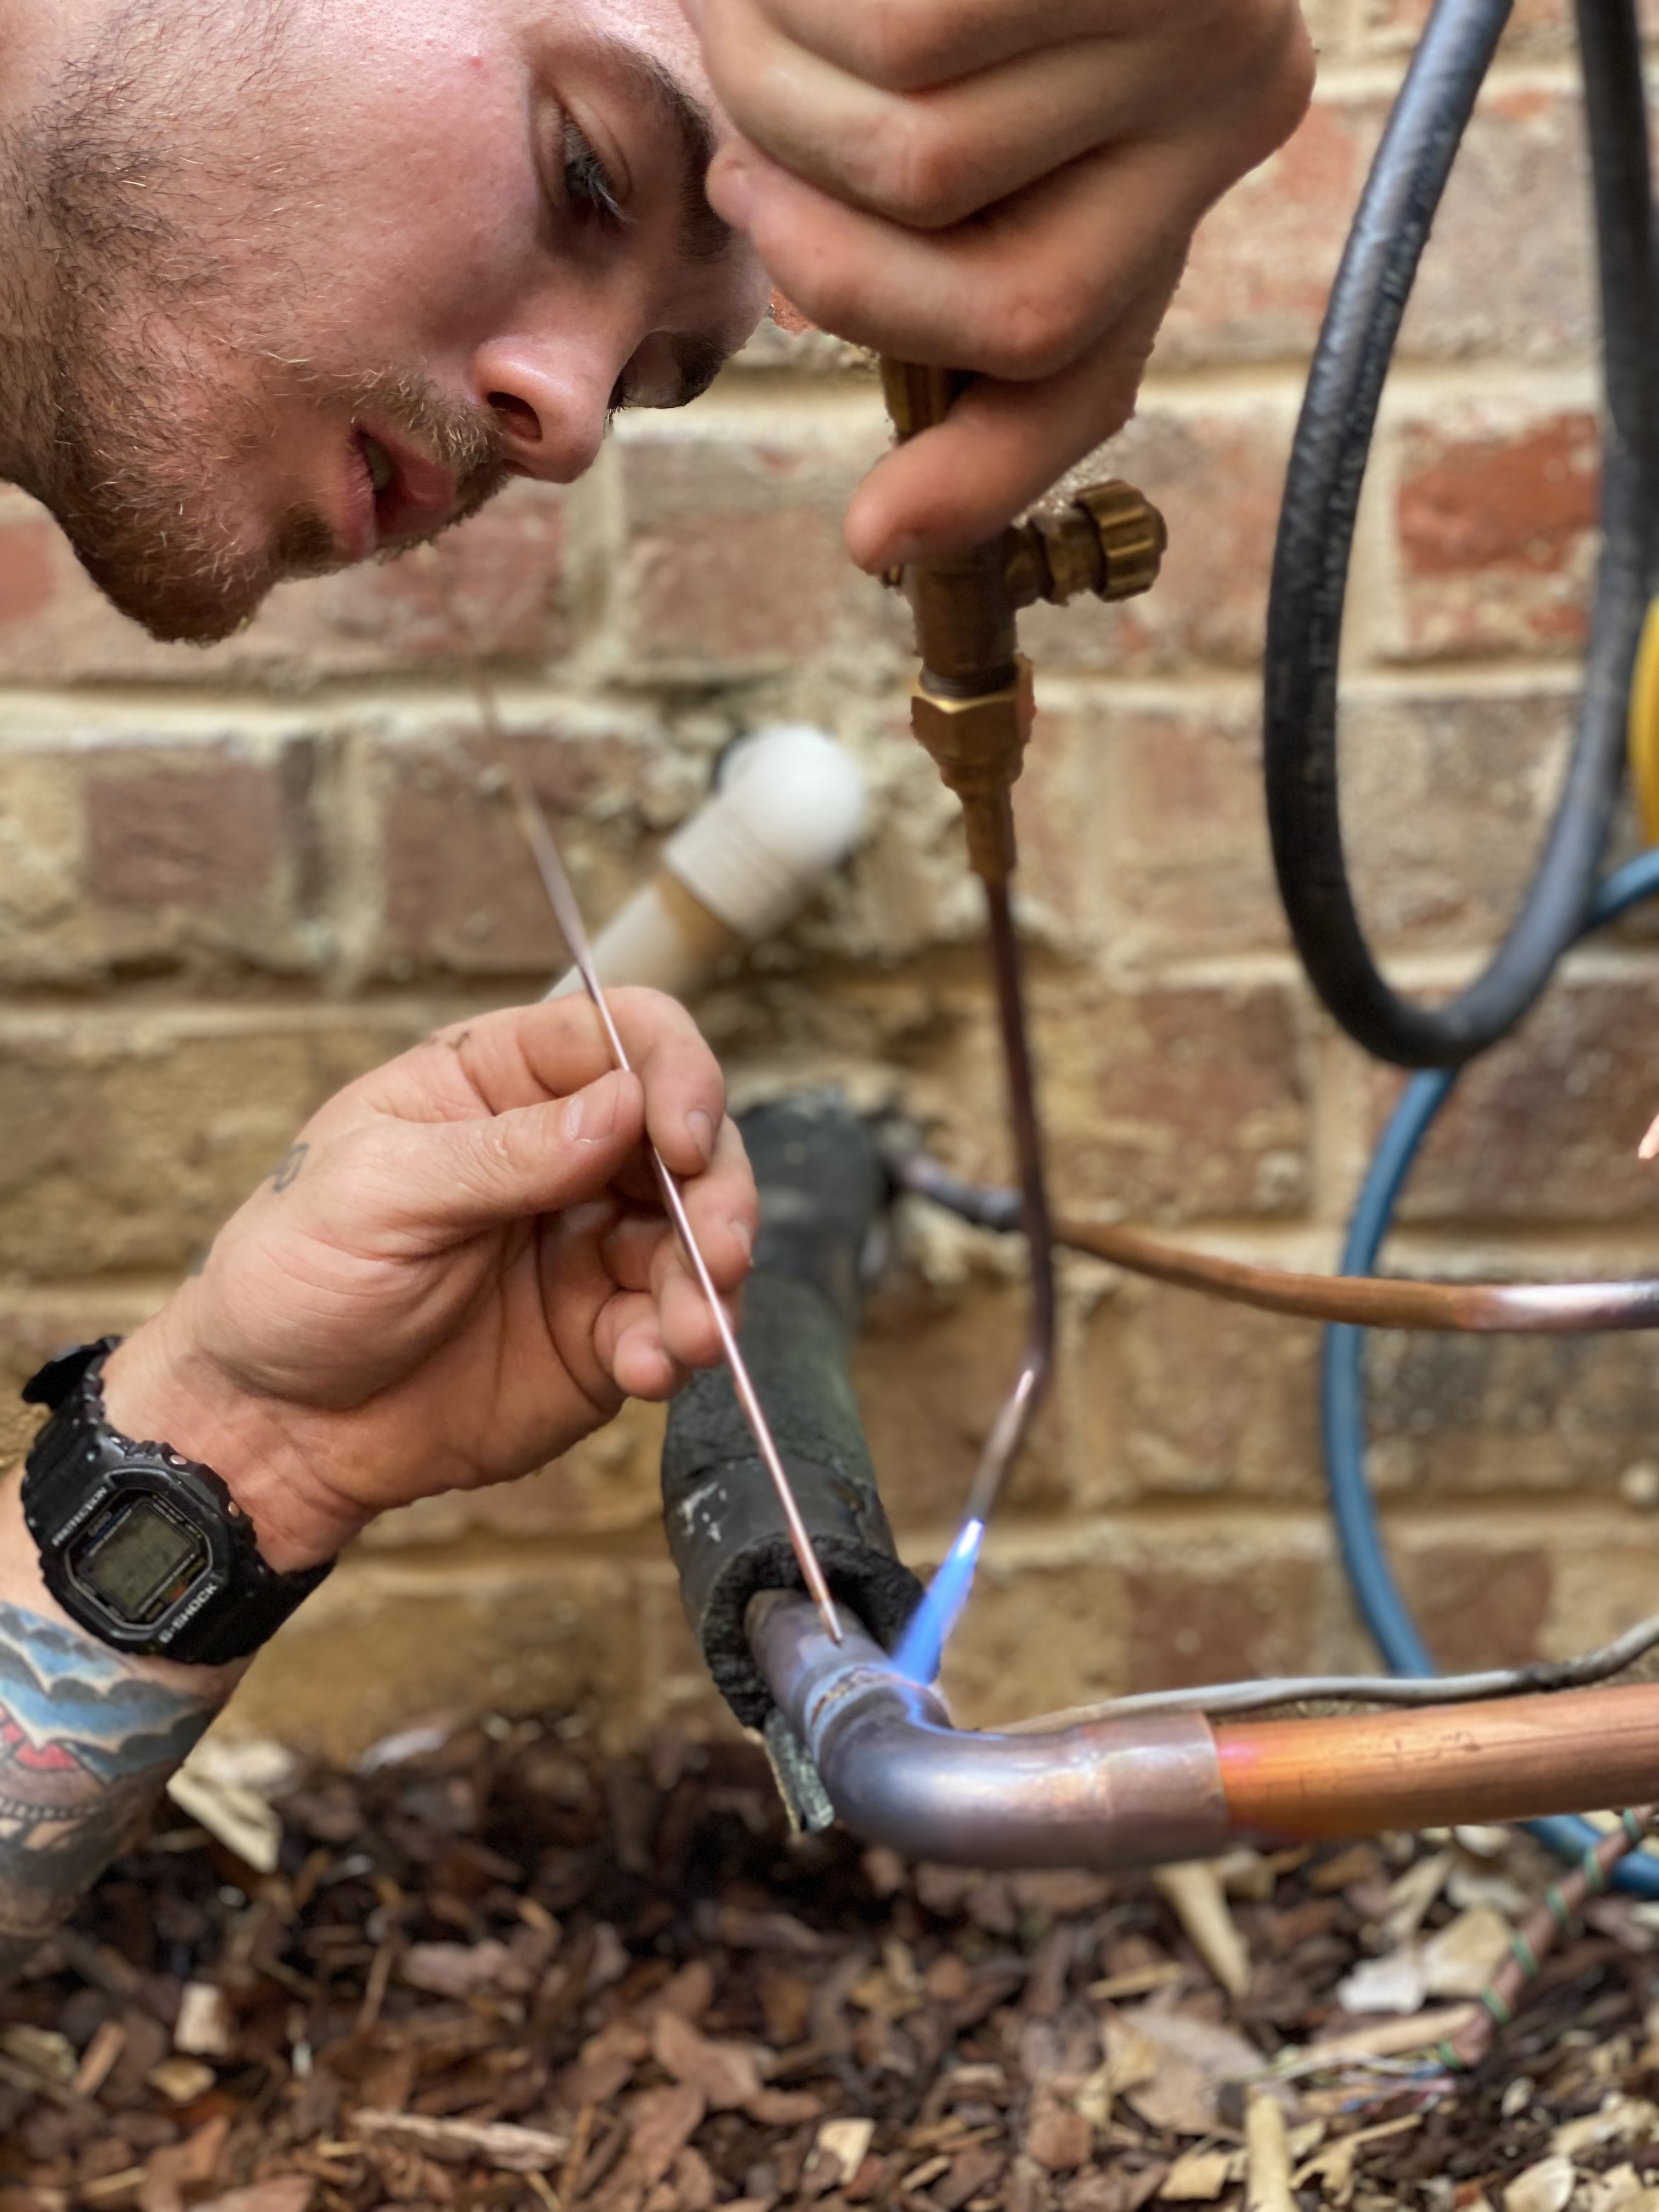
When your living room is muggy and the bedroom is an icebox, a ductless system feels like magic. If you’re researching how to install a ductless mini split air conditioner safely, you’re in the right place. We’ll walk through smart planning, safe mounting and wiring, and the final checks that protect your comfort and warranty. If you’d rather not lift a drill, we can install most systems in a day and handle every code and safety box for you.
Why Ductless Mini Splits Make Sense for Alabama Homes
Birmingham summers are hot and humid. Ductless mini splits target rooms that never feel right without tearing into walls for new ducts. They cool fast, run quietly, and let you set different temperatures in different spaces. That means the home office can be 72 while the nursery stays a calm 74.
Efficiency is a big win. Many ductless systems carry high SEER ratings, which can trim monthly bills. We help homeowners compare SEER and inverter tech so you get comfort without waste. In older homes, skipping ducts also avoids the energy loss that happens in unconditioned attics.
Maintenance is simple. Filters are easy to reach, and there are no long duct runs collecting dust. Ductless units typically need one or two professional checkups a year to stay efficient. In spring, we clean coils and confirm airflow before the first heat wave arrives.
If you like smart features, these systems pair nicely with modern controls. We often integrate smart thermostats or native app controls so you can adjust comfort from your phone. For busy families and rental properties, that convenience is hard to beat.
Safety First: Permits, Power, and Placement
Start with safety and compliance. Many cities require a permit and inspection for new HVAC installations. Electrical work, including new circuits or disconnects, must follow the National Electrical Code and local rules. Always shut off power at the breaker before any wiring.
Choose locations that protect the system and your home. Indoor heads need solid backing, proper clearances, and a path for line set, drain, and control wire. Keep them away from ovens, showers, and direct afternoon sun.
The outdoor condenser needs level support on a pad or wall bracket. In our clay-heavy soil, we set pads on compacted gravel to prevent settling. Leave room for airflow and future service. Keep it above known flood spots and away from roof runoff.
One hard fact to know: refrigerant handling is regulated by the EPA. Only certified technicians may open, recover, or charge systems. We capture and dispose of refrigerant according to EPA rules, which protects the environment and your investment.
Plan Before You Drill: Sizing, SEER, and Zone Layout
A great install begins on paper. Proper sizing avoids short cycling and poor humidity control. A room-by-room load calculation looks at square footage, insulation, windows, and sun exposure. Sunroom glass, shaded basements, and open lofts all change the math.
Compare models and efficiencies. High-SEER units save energy, but the right choice balances comfort, cost, and your home’s electrical capacity. We help homeowners weigh utility savings against upfront price, and we offer financing on replacements when needed.
Map your zones. Bedrooms often pair on one outdoor unit with two indoor heads. Garages, bonus rooms, and additions may need their own capacity. Plan the line set route to avoid kinks and to keep the drain with a steady downward slope.
Finally, check your panel. Many ductless systems require a dedicated breaker and an outdoor disconnect within line of sight. Confirm wire gauge and breaker size per the manufacturer’s nameplate. Label everything clearly for safety and future service.
Tools and Materials: What You’ll Actually Use
A safe installation needs the right gear. Here is a practical checklist many homeowners miss until it is too late:
- Measuring and mounting
- Stud finder, level, tape measure
- Mounting plate, lag bolts, masonry anchors if on brick
- Core and routing
- 2.5 to 3.5 inch hole saw or core bit, drill, sleeve
- Line set cover, UV-resistant tape, insulation
- Refrigerant and vacuum
- Torque wrenches rated for flare nuts
- Micron gauge and vacuum pump capable of deep vacuum
- Nitrogen tank and regulator for pressure testing and purging
- Electrical and controls
- Outdoor disconnect, proper gauge wire, conduit, GFCI where required
- Control cable per manual
- Drainage and sealing
- Condensate tubing, trap where specified, pump if no gravity fall
- Exterior-grade sealant and pest-proof escutcheon
Use a helper for lifting and when feeding the line set through the wall. Protect the flare ends from dirt. Keep a shop vacuum handy to clean masonry dust before sealing.
Mounting the Indoor Unit: Quiet, Level, and Leak-Free
Mark your studs and mount the indoor backplate level. Even a quarter inch tilt can cause condensate to pool or drip. Confirm clearances from the ceiling and sidewalls, and ensure doors and blinds will not block airflow.
Drill the wall penetration at a slight downward angle to the outside. Insert a sleeve to protect the lines and insulation. Bundle the refrigerant lines, control wire, and drain. The drain should sit at the bottom of the bundle and maintain a continuous downward slope.
Gently hang the head on the plate. Avoid forcing the flare connections. Kinks or crushed insulation reduce performance and lead to noise. Outside, route the bundle in a tidy line set cover that allows future access. Neat work prevents UV damage and keeps the home’s look clean.
Before you close anything, test the drain with a cup of water poured into the pan. If it backs up, clear the line or add a condensate pump. Double-check that furniture placement will not block the supply swing.
Setting the Outdoor Unit: Airflow, Anchor, and Vibration
Place the condenser on a level, vibration-dampening pad or a rated wall bracket. We like compacted gravel under pads in the Birmingham area to handle summer rains and shifting soil. Leave clearance per the manual, often 12 to 24 inches on sides and more at the service panel.
Anchor bolts should be snug, not over-tightened. Use anti-vibration pads if the unit sits on a porch or balcony to reduce noise transfer. Keep shrubs trimmed and avoid dryer exhaust or gas meter locations.
Create a smooth line set route. Wide-radius bends protect the copper. Keep the suction line insulation intact and UV protected. Seal the wall sleeve to stop pests and humidity from entering.
Add an electrical disconnect within sight and at a safe working height. The breaker size and wire gauge must match the nameplate. Label the breaker in the panel. This is a common inspection item and a safety must for anyone servicing the unit.
Lines, Vacuum, and Charging: Do Not Skip This Science
Every tight, efficient system starts with clean, dry lines. After connecting flares with a torque wrench to the manufacturer’s spec, nitrogen pressure test the system to check for leaks. Soap bubbles or an electronic detector will reveal trouble spots.
Pull a deep vacuum to 500 microns or better and verify that it holds. A stable decay test proves the system is dry and tight. Moisture and air inside the lines create acid, which damages compressors over time.
Refrigerant is not a DIY playground. By federal law, only EPA-certified technicians should open or charge a system. On replacements, we recover and capture refrigerant and dispose of it the right way. On new installs, most ductless units ship with a factory charge for a specific line length. Beyond that, the charge must be adjusted to spec.
Record your test pressures, micron levels, and final readings. Good documentation protects the warranty and helps future troubleshooting. It is a small step that pays off big.
Electrical and Condensate: The Two Hidden Troublemakers
Most callbacks on DIY installs come from wiring mistakes and poor drainage. Follow the terminal labels exactly for the indoor and outdoor units. Some brands require polarity to match. A single crossed conductor can blow fuses or boards.
Ground the system properly and use the correct breaker and disconnect. Seal all exterior penetrations with UV-stable sealant to keep moisture out of conduit and walls. Keep low-voltage control wires away from sharp edges.
For condensate, aim for gravity first. Keep the drain run short and with steady pitch. Where gravity is not possible, use a rated condensate pump with a clear service loop. Test the pump three times before you close anything. A dry wall stain now is cheaper than a ceiling repair later.
Finally, confirm the thermostat or remote control setup. If you add a smart thermostat or app integration, pair and calibrate now. We test the vents and match actual air temperature to the displayed setpoint before leaving a job.
Startup, Calibration, and Comfort Tuning
Restore power and start the system in cooling mode. Listen for unusual vibrations and check that outdoor fan and compressor start smoothly. Verify the indoor blower cycles and that louvers move correctly.
Measure supply and return temperatures after 10 to 15 minutes of operation. A normal split is often around 16 to 22 degrees, depending on humidity. Confirm the drain is flowing and that no water is pooling in the pan.
Fine-tune fan speeds and vane positions to avoid blasting air directly at beds or desks. Program schedules or geofencing in the app if available. We also walk homeowners through filter cleaning and show them where the line set cover opens for service.
Document the model and serial numbers, the breaker size, and the date of install. Good records make warranty claims easier. We leave a copy on the air handler or in a clear sleeve near the outdoor unit for quick reference.
When To DIY and When To Call Wilbur’s
If you are handy with drills, comfortable on a ladder, and have help to lift, you can mount the indoor unit and route a tidy line set. Homeowners often paint and prep the wall before we arrive. This can save time and leave the room looking great.
Electrical, refrigerant, and vacuum steps are different. They require specific tools and certifications. Incorrect wiring can damage boards. Opening the refrigerant circuit without EPA certification is illegal and can void warranties.
Here is what we handle when you call us:
- Proper sizing and SEER guidance for efficiency and comfort
- Permit coordination and code-compliant electrical work
- EPA-compliant refrigerant recovery and charging
- Smart thermostat integration and full calibration
- Same or next day installs in many cases, often done in one day
We are family-owned and have served Alabama since 1979. Our EPA and NATE-certified techs install every day and stand behind the work with a 100% satisfaction guarantee. That peace of mind matters when summer hits 95 and the humidity feels like a blanket.
Special Offers for Ductless and Replacements
- $300 Off System Replacement. Not valid with other offers. Present coupon at time of service. Call for details.
- 10% Off Your First Service on qualifying AC services. Print or mention this offer when you schedule.
- Free estimates and upfront pricing on replacements.
- Free second opinions for system replacements so you can compare with confidence.
Call (205) 675-0280 or book at https://www.callwilbur.com/ to apply available offers at scheduling.
What Homeowners Are Saying
"Highly Recommend! I was very pleased with my Wilburs experience... recommended that I replace my old unit... within the next business day came out and installed it... reasonably priced, especially with the quick installation time."
–Kenneth C., AC Installation
"John and Andrew were kind, incredibly knowledgeable, and went above and beyond to make sure they installed our equipment correctly and with as little disruption to our day as possible."
–Rebecca Y., AC Installation
"Connor was great! Got here on time and got everything back up and running with my AC in under 30 minutes!"
–Katie F., AC Service
"He got out to the property shortly after our call... provided pictures, explained what needs to be done... and then got the work done the same day."
–Jay B., AC Service
Frequently Asked Questions
Do I need a permit to install a ductless mini split?
Most cities require a permit and a final inspection for HVAC installations. Electrical work must meet local code. We handle permits and inspections so everything passes the first time.
Can I install a mini split without a vacuum pump?
No. You must pull a deep vacuum and confirm it holds. Skipping this step leaves moisture and air in the lines, which can damage the compressor and void the warranty.
How close can the outdoor unit be to a wall?
Follow your model’s manual. Many require 12 to 24 inches on the sides and more at the service panel. Adequate clearance protects airflow and service access.
How often should I service a ductless system?
Clean filters monthly during peak season. Schedule professional maintenance once or twice a year. We clean coils, test motors and thermostats, and confirm drain flow.
Will a ductless mini split lower my bills?
Often, yes. High-SEER ductless systems avoid duct losses and modulate output to match demand. We help you choose models that balance efficiency, comfort, and budget.
Wrap-Up
You can install a ductless mini split safely with good planning, careful mounting, and pro-grade testing. If you prefer a trusted partner, we are ready to help in Birmingham, Hoover, and nearby. For how to install a ductless mini split air conditioner safely, call (205) 675-0280 or schedule at https://www.callwilbur.com/. Ask about $300 Off System Replacement and 10% Off Your First Service. We will make comfort simple and stress-free.
Ready to Restore Comfort?
- Call now: (205) 675-0280
- Schedule online: https://www.callwilbur.com/
- Mention current offers: $300 Off System Replacement and 10% Off Your First Service
We serve Birmingham, Tuscaloosa, Hoover, Vestavia Hills, Alabaster, Northport, Homewood, Trussville, Bessemer, and Pelham. Let’s get your home comfortable today.
About Wilbur’s Air Conditioning, Heating & Plumbing
We’re your Birmingham neighbors, keeping homes comfortable since 1979. Our EPA and NATE-certified technicians deliver careful installs, honest pricing, and 24/7 support. We back our work with full warranties and a 100% satisfaction guarantee. We’re BBB A+ rated and a Bryant Factory Authorized Dealer in select locations. From smart thermostats to high‑SEER options, we guide you to efficient comfort. Count on Wilbur’s for clear communication, respectful service, and long-term solutions.
Sources11
Source links open in a new tab.
- $199 Mainline Cleaning Special!callwilbur.com (opens in a new tab)
- Call our team for a free estimate.wilbur1.com (opens in a new tab)
- Ready for an upgrade? Request a free estimate or explore our financing options to make your new furnace more affordable.wilbur1.com (opens in a new tab)
- Happy comment by Marc Davisgoogle.com (opens in a new tab)
- Happy comment by Kenneth Cappsgoogle.com (opens in a new tab)
- Happy comment by Leonard Watkinsgoogle.com (opens in a new tab)
- Happy comment by Key Keygoogle.com (opens in a new tab)
- HVAC & Plumbing Services in Pelham, AL | Install & Repairwilbur1.com (opens in a new tab)
- Site Mapwilbur1.com (opens in a new tab)
- Expert Plumbing & HVAC Services in Vestavia Hills, ALwilbur1.com (opens in a new tab)
- Trusted HVAC & Plumbing Services | Contact Wilbur’s Todaywilbur1.com (opens in a new tab)